|
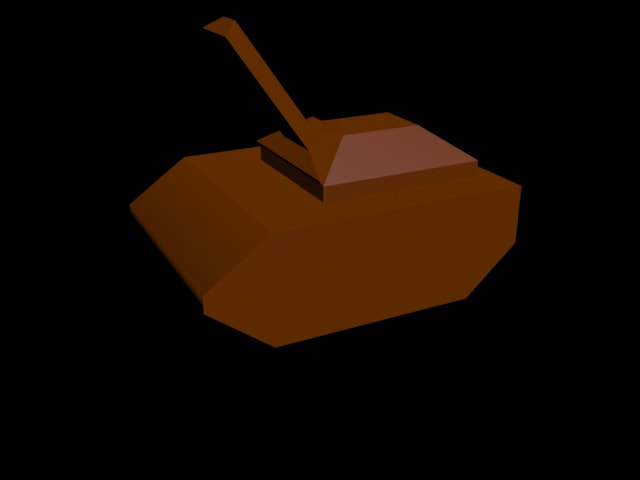
One of our class assignments was to create a 3D tank from a single box. For this assignment, we had a tutorial to follow that showed us how to complete it. I do have to say that the completed tank was a disappointment to me. If I remember correctly, it was our 3rd 3D modeling project but I thought it was going to look better. The first thing I did was create a new folder in my 3D Models folder. This is where I put my files of this assignment. The next thing I did was open up 3DS Max and pull up the tutorial on each of the desktops. This is where I actually started working on the 3D model. The first step was to create a box. This box is the foundation for the tank and is the only 3D object that I used. The next step was to divide each face into nine different sections. Then, I convert the box into an editable poly which is a very important part of 3D modeling. I selected the vertex option and selected 6 vertices on the top and bottom of one face of the box. I pulled these inward to create the appearance of the front of the tank's wheels. I did this again on the opposite face but instead of pulling in 6 vertices, I pulled in 3 vertices on the bottom for the back of the wheels. I turned to the polygon option, selected the middle section of the top face and extruded it up. Then, I created a smaller section inside of the extruded top and lifted that up. I lastly created a smaller trapezoid in the front side and extruded it out to make the barrel. In conclusion:
0 Comments
Leave a Reply. |
AuthorI plan on learning the skills of Digital Design and Animation this year. The views and opinions expressed in this blog are solely those of the author and do not represent those of Durham School of the Arts or Durham Public Schools. Archives
May 2019
Categories
All
|
 RSS Feed
